Painting Tutorial - Ord Buhkep pt.1
•Posted on February 04 2020

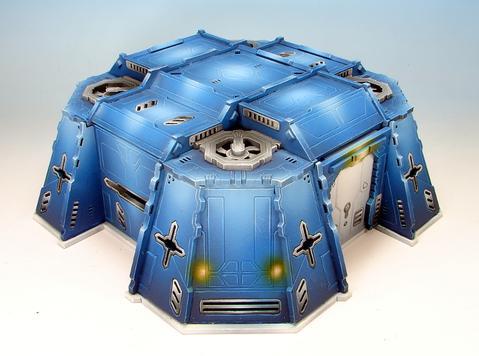
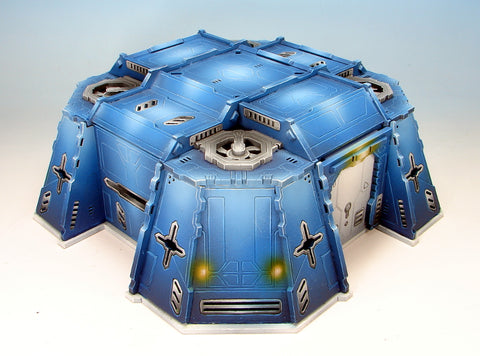
Presenting a step-by-step painting guide of the Ord Buhkep for Thon the Game.
Part One focuses on painting the metallic sections of the Droppost. Since these are mostly small insets and details, they will get painted first and then masked off before moving on to different colors.
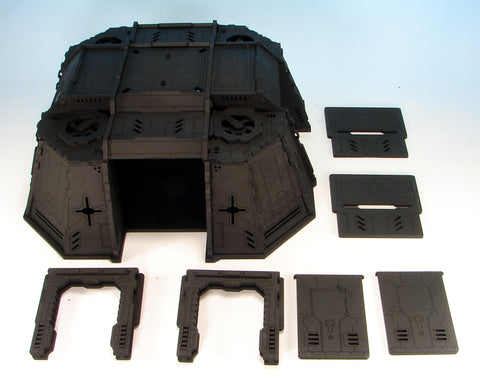
First, the building is primed with black spray enamel. The enamel takes a little bit longer to dry than other spray paints, but provides a nice seal so that the subsequent airbrushing does not get soaked up too much by the MDF, requiring fewer coats.
Step 1
An airbrush is used for smooth and speedy application of color. The paints are thinned using a solution of 10% Isopropyl Alcohol and 90% Distilled Water.
All of the components that will be steel are base-coated with Vallejo Model Colour (VMC) Dark Grey 166. Some of the black undercoat is left showing at the very bottom of each section for instant shading.
Step 2
The steel sections are highlighted with the airbrush first with VMC Neutral Grey 160. Assuming simple overhead sunlight, the highlights are applied toward the top of each section, leaving some of the previous color showing to build up the highlights naturally and smoothly.
Step 3
Further highlights are applied with the airbrush, this time using VMC Light Grey 160. Again, leave some of the previous layers showing, concentrating highlights toward the "sunward" edges.
Step 4
Final airbrushed highlights are painted using pure White. The white to black contrast is what really helps these areas appear metallic.
Step 5
Using a fine-tipped paint brush, edge highlights are applied with pure white. The highlights are carefully added to the top edges of the metallic sections. It is best to keep them as narrow and uniform as possible.
For sharp corners and edges, you can use the side of the paint bristles at a 45-degree angle to the edge to just pick out the sharpest corners.
If you keep the airbrush moving in the previous steps, and don't pool the paint, it should stay out of all the cracks and panel lines naturally. If any lighter paint gets into the cracks, you can re-define those panel lines at this point with a fine-tipped brush and black paint.
Step 6
With the metallic areas finished, it is time to mask them off before moving on to the next color. Large areas were masked with regular blue painter's tape. Fine details and edges were masked using Utrecht Liquid Mask.

In the next installment, we will cover painting the white areas of the Buhkrep.


Comments
0 Comments
Leave a Comment