The Wire
•Posted on June 04 2020

Guest Tutorial by Marcin Ignasiak
Adding small details and variation to your laser cut terrain.
Laser-cut terrain and building kits are awesome, easy, and fast to build or paint. But if you want them to look unique you need to spend that little extra time and effort. In this tutorial, I will show you an easy way to make small modifications to your new Xǐguǎn Alleyways from Warsenal.


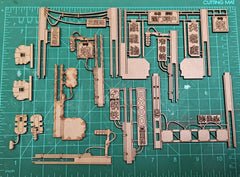
The Xǐguǎn Alleyways have lots of hanging, exposed wires, and cables. Why not change those square laser cut "wires” into something more realistic and 3D.
First you want to carefully cut out those square MDF cables. I use a big snap blade utility knife from Stanley. Those cuts would be harder and more dangerous with ex-acto type knife as the blade may break cutting MDF.

Use a file or sanding paper glued to a flat piece of MDF to clean your cuts and make them flat.

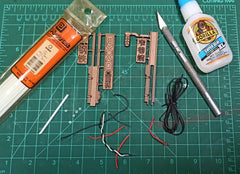
Glue slices of plastic tubes where you want your cables to come out. I use my ex-acto knife to pick up small pieces and dip them into super glue that I have on a piece of scrap cardboard. You can also use tweezers.


Look around your house for a piece of wire or thin cable that will fit inside those tubes. You might have headphones from your smartphone or... brand new Beats by Dre still in a box collecting dust (won't work with Bluetooth headphones). Cut it and glue inside your tubes!

The cable for the alley lights is glued to back of the sign, following the laser-cut lines to hide them and keep to the original design.


The cable hanging from the gantry powering those nice signs is even easier. I've glued squares of 1mm thick plastic card squares to raise the laser cut signs and glued pieces of wire underneath them. They be later hidden by the signs so you don't have to be too precise.


Now to something more advanced.
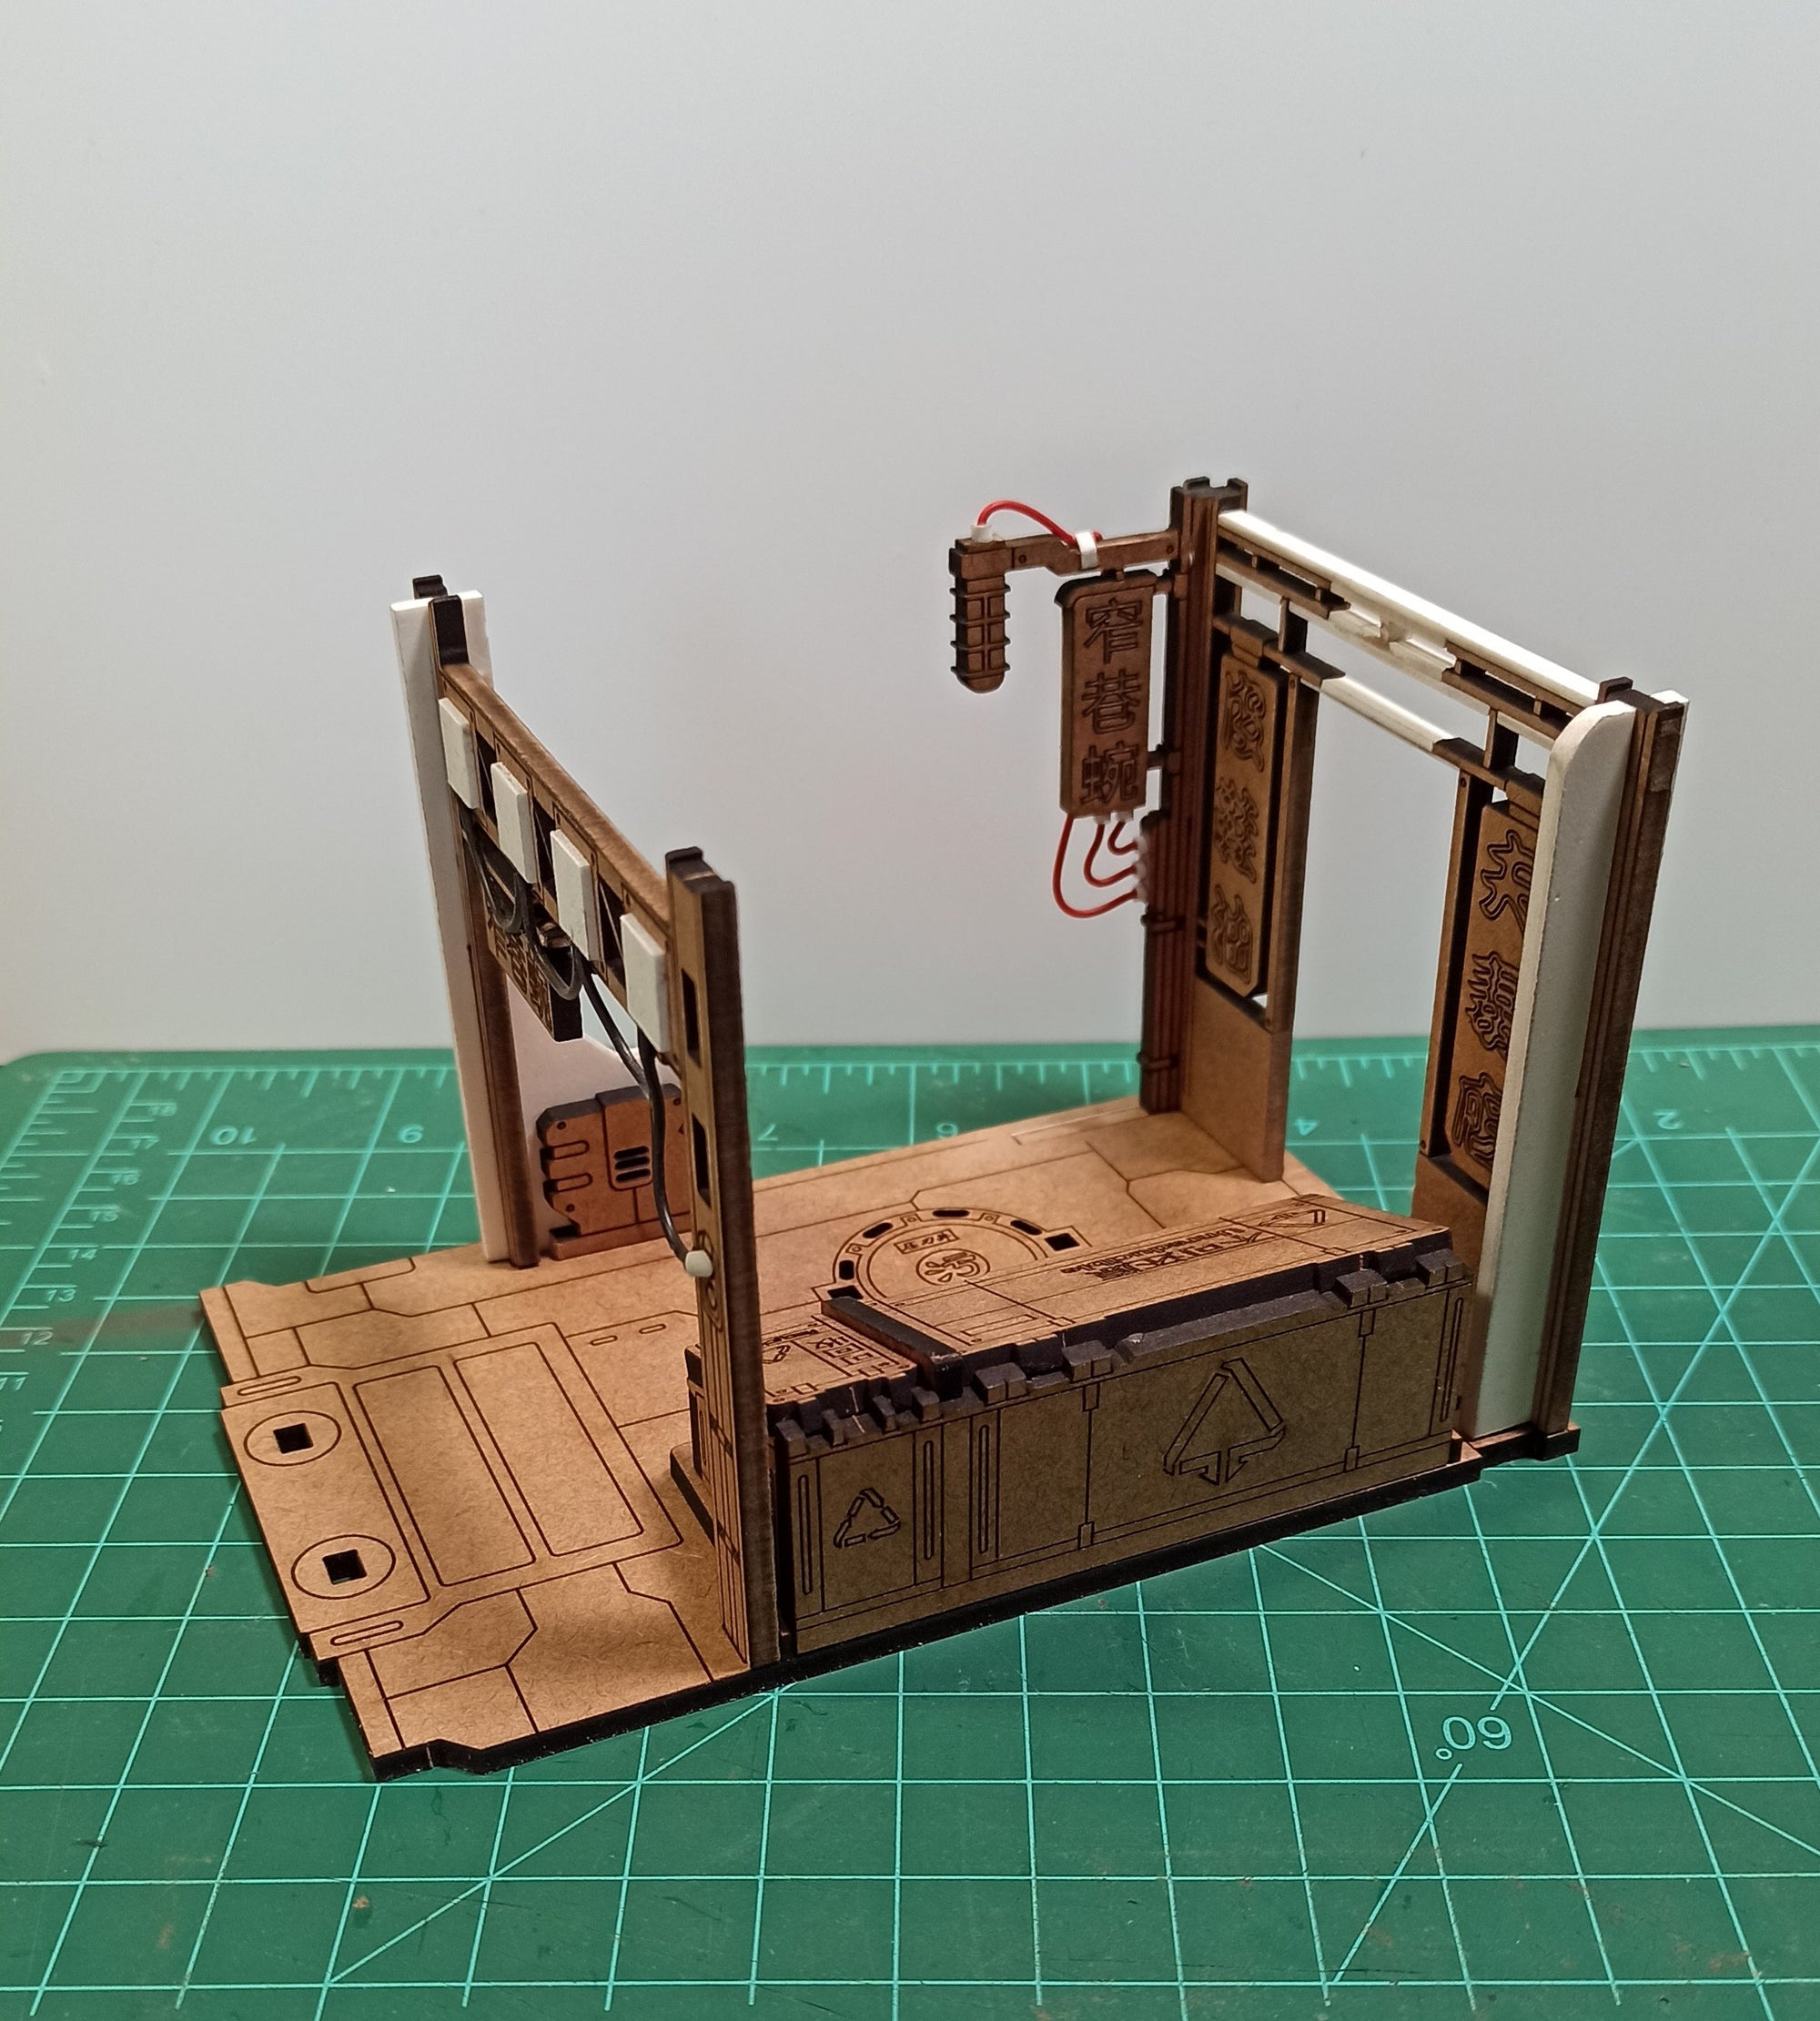
To add more variation to two sets of identical Xǐguǎn Alleyways I made a decision to move one of the dividers/walls.

Because it was too wide I cut out the centerpiece with the sign and widened the entrance at the bottom part.


I've added some strips of 1mm plastic card to strengthen the divider following the design.

3mm plastic card was notched to fit onto the laser cut MDF gantry support.

The Last photo's show how different those two alleys have become by moving one of the elements.

Painting them in different colors will only enhance this effect.

To check out more projects by Marcin check his facebook:
https://www.facebook.com/marcineczek0/
If Marcin has inspired you to customize some Xiguan alleyways, they can be found HERE.
Comments
0 Comments
Leave a Comment