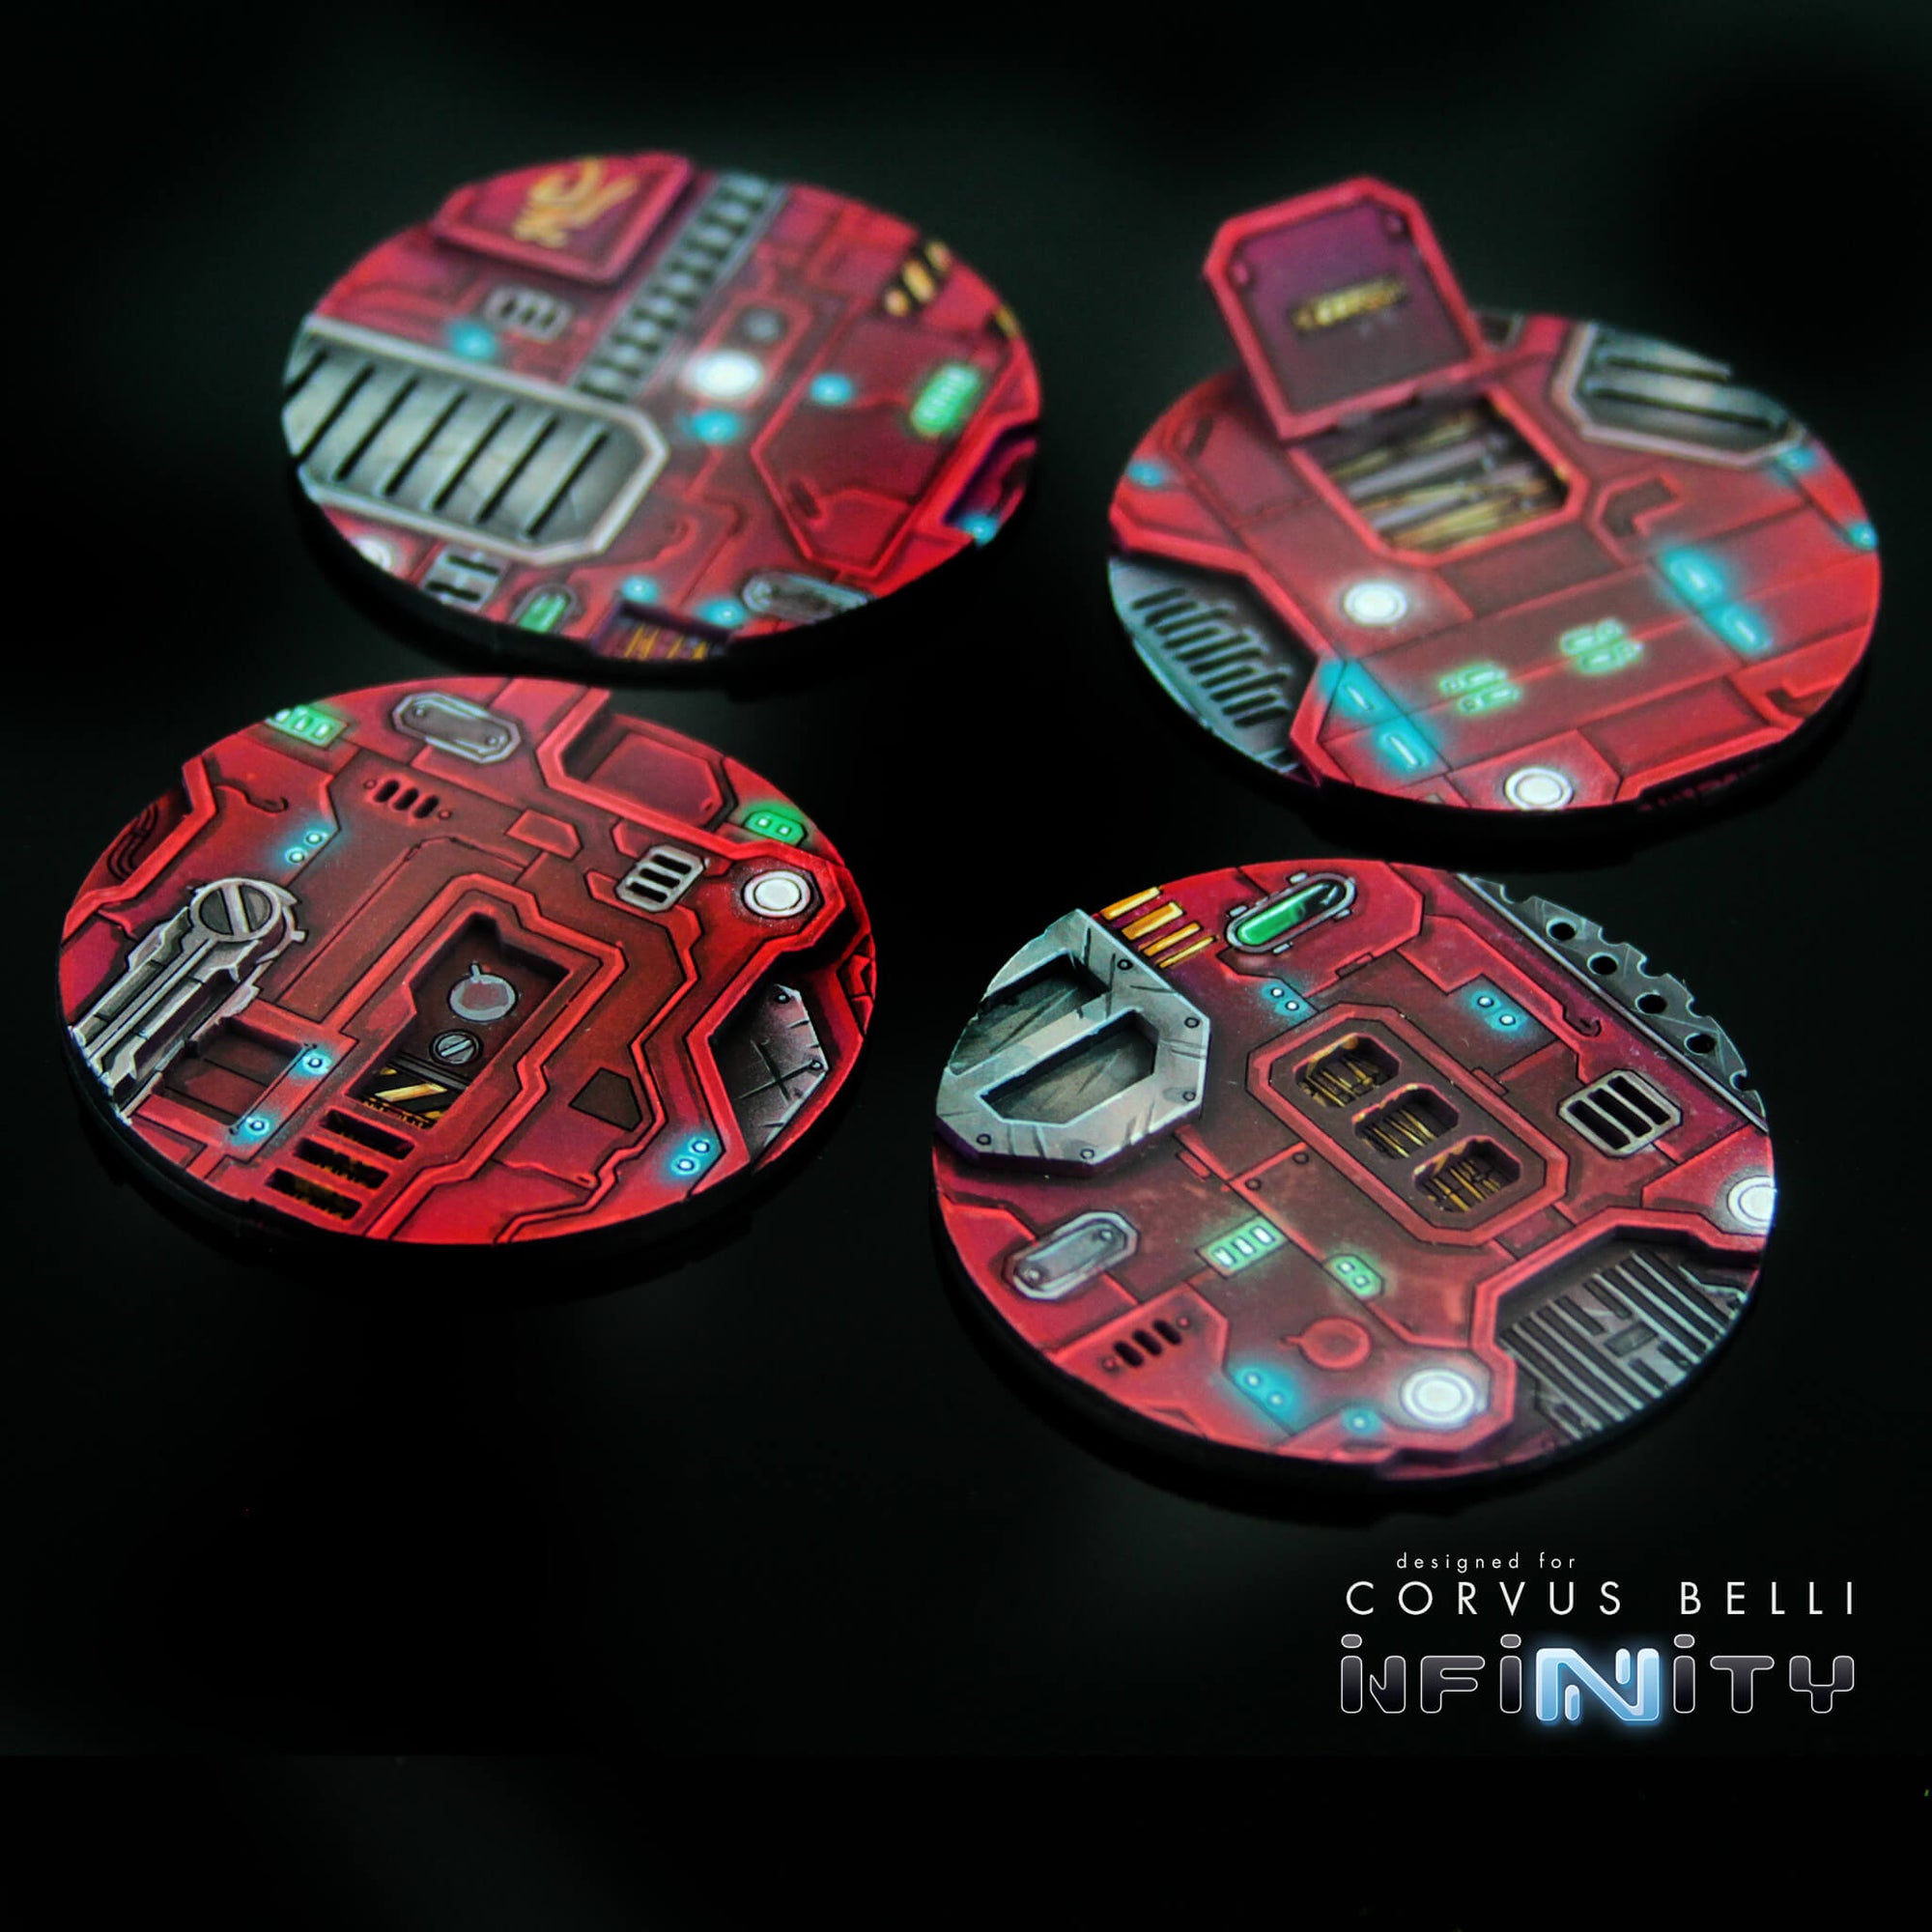
Painting Tunguska Bases
•Posted on May 27 2015
Step 1

Assemble the bases with super glue, base coat with black primer. Using an Airbrush and spraying in a circular motion around the center, apply the base color P3 Beaten Purple, it helps to deepen the shadow by leaving a bit of black showing through the middle. Using the same technique but staying closer to the outside edges apply P3 Murderous Magenta. Then apply a brighter layer of P3 Murderous Magenta mixed with P3 Carnal Pink just to the extreme edges. To make a smoother blend you can go back with the previous colors by softly airbrushing the shadow back into the center, even mixing black into the purple for the center.
I feel the gradient achieves two purposes, to give the base a nice color depth and also to create an ambient occlusion effect of shadow beneath the miniature.
Step 2

Using painters tape (preferably a special tape for delicate surfaces) mask off the metallic bits and airbrush them in a similar manner to step 1. I used P3 Bastion Brown highlighted with P3 Trollblood Highlight and any pure white. For metal grating I like to keep a straight gradient with high contrast for that gleaming metal look.
At this stage I also added the shadows. Mixing a touch of black into the purple, shadow one side of the various detail lines. Which side is relatively unimportant, any place you put a shadow will create an effect of a deeper area so when we highlight the lines it will create a faux depth effect to make the bases look less flat. Repeat the technique on the metal bits.
Step 3

Using a mix of P3 Murderous Magenta and P3 Carnal Pink Highlight the lines opposite the shadowing. Also using pure P3 Carnal Pink to highlight the corners and various lines to create an extreme highlight. It is important that you push these highlights very far as the next step pulls them back down and a good color depth creates the striking look and frames the model well.
Step 4

Using GW Baal Red Glaze, brush over all the purple-pink areas. This really moves the scheme into the red spectrum and creates a striking fuchsia.
This is my favorite step as it calms down those gaudy pink highlights.
Step 5

Finally add the details to really make it feel alive. Highlight the metal bits with extreme white and add scratches. To paint the lights first airbrush on a soft little spot then go back with brush and highlight with the same color mixed with pure white. Also painting caution striping stripes or numbers/letters can add great detail.
I used Vellejo Blue Green and GW Sybarite Green for the majority of the lights, it's important to note that using very strong lights like the white ones will pull attention away from your miniatures so while they were good for the studio bases I would darken them for actual miniatures.
You can paint the Tunguska bases using this technique in any colors you want and the glaze can help certain colors but isn't necessary at all.
Comments
0 Comments
Leave a Comment