Painting Tutorial - Comanche Emplacements pt.1
•Posted on February 04 2020
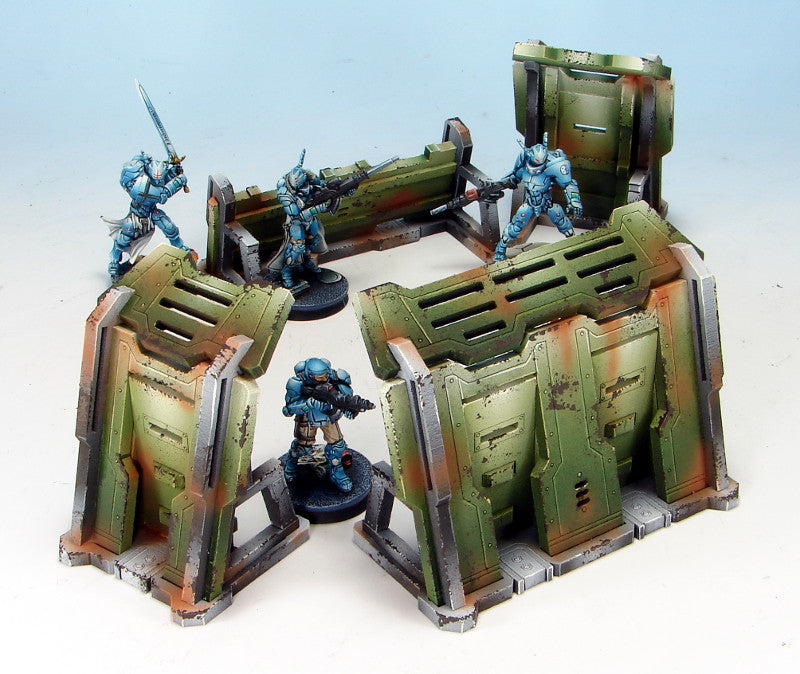
Comanche Emplacements make excellent scatter terrain to provide cover to your troops for Infinity: The Game.

For this project, we are going to paint the pieces unassembled before gluing it all together. Sometimes this can be much more efficient than painting terrain assembled and having to mask off certain areas before airbrushing the rest.
First, attach the pieces to "painting handles." Here we have used bottle caps and Blu-Tac (poster putty) to attach some pieces, while others are simply friction-fitted to pieces of the MDF sprue that the kit comes on.


For a tighter fit, some blue painter's tape was wrapped over the edge of sprue. We recommend Spray Enamel Primer to prime the pieces and seal the MDF so that it won't soak up as much paint from the airbrush.
Working with the parts that will be "steel" first, we base-coated them using the airbrush with Vallejo Model Colour 168 Black Grey.

The first highlights are applied with VMC 166 Dark Grey. Spray from the top down, building highlights toward the outer edges of the bases and tops of the support struts.

The next highlight was airbrushed with VMC 160 Neutral Grey, again working toward the edges and tops.

The next highlights were airbrushed using VMC 155 Light Grey.
 Final airbrushed highlights are with White.

Using the airbrush, shadows are placed back in with Black. You can see that the contrast from black to white makes the metal parts appear metallic.

The final step is to use Neutral Grey, Light Grey, and White to highlight the edges of the pieces with a regular paint brush. Using the side of the bristles at a 45-degree angle to the sharp edges of the pieces helps to quickly pick out just the edge.

With the steel parts finished, in the next instalment we will tackle the green armor plates.
Comments
0 Comments
Leave a Comment